Introducing the Orgasmatron V, Google Voice Edition
Introducing a turnkey Asterisk system with free inbound and outbound calling throughout the United States plus dozens of Asterisk utilities to handle every imaginable PBX chore.


Introducing a turnkey Asterisk system with free inbound and outbound calling throughout the United States plus dozens of Asterisk utilities to handle every imaginable PBX chore.

With fingers crossed, here’s hoping that the Fifth Time’s a Charm. Introducing the latest and greatest tutorial for transparently integrating Google Voice into Asterisk for free calling throughout the United States.
After 3 false starts, we finally have a Google Voice solution for Asterisk that provides free calling in the United States with no gimmicks and no strings. Enjoy!

Google Voice and Gizmo5 finally have taken off the gloves. Totally free Asterisk calling in the U.S. returns with a vengeance. Today’s tutorial will show you how to set up your Asterisk server in under 10 minutes.

Introducing a new Hotel Management System for Asterisk. Just a 5-minute install, and your hotel will be in business using PBX in a Flash.

Today, we’ll show you how to harness the power of Twitter and SMS to announce every call on your Asterisk server with the name and number of the caller as well as the DID of the incoming call. Reconfiguring your Asterisk server takes less than 10 minutes.
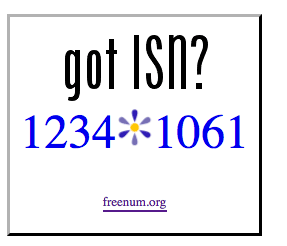
Today we’ll walk you through setting up ISN on your Asterisk server for free SIP calling from the convenience of your nearest Asterisk telephone. In less than 10 minutes, you can test it out by dialing **1234*1061 to sample a dozen Nerd Vittles text-to-speech applications.

Today Nerd Vittles serves up a smorgasbord of summertime distractions including FreeNum, Roku, SMS with Asterisk, Bing, Napster, Wordle, Google Latitude, Hurricane Tracking, favorite blogs, and, of course, Twitter.


 JUST RELEASED: Visit the Incredible PBX Wiki