
Getting Started
Open a WootHosting VPS account.
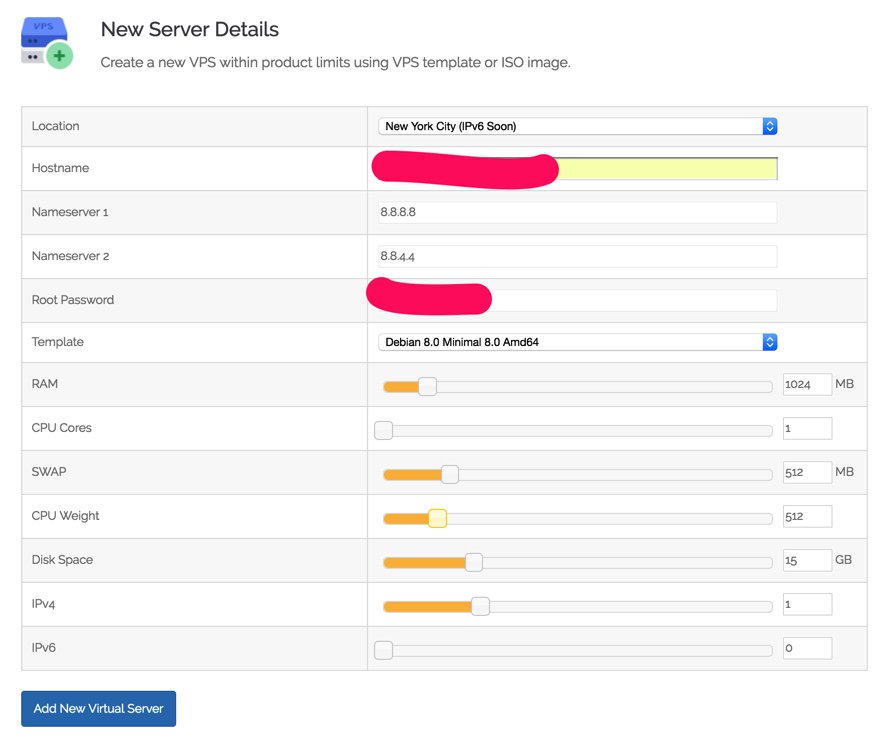
Create a Debian 9 minimal virtual machine with at least 1GB RAM, 1GB swap file, and 15GB drive. When your PBX requirements increase, you can change the sizing of your virtual machines at any time in less than a minute. Be sure to use an FQDN for your hostname, e.g. wazo.incrediblepbx.com will work.
Debian/Wazo/Incredible PBX Installation
Log into your server as root using SSH/Putty and immediately change your root password: passwd
Then issue the following commands to kick off the base install:
cd /root
apt-get update
apt-get -y install cloud-init
locale-gen en_US.UTF-8
dpkg-reconfigure locales
wget http://incrediblepbx.com/IncrediblePBX15-Wazo.sh
chmod +x IncrediblePBX15-Wazo.sh
./IncrediblePBX15-Wazo.sh
After rebooting, log into your server again as root and issue the following command to complete the Wazo and Incredible PBX installation and configuration:
./IncrediblePBX15-Wazo.sh
Issue the following command to fix up the pbxstatus display for WootHosting:
sed -i 's/asterisk -rx "core show version" | grep -m 2 ^ | tail -1 | cut -f 2 -d " "/asterisk -rx "core show version" | tail -1 | cut -f 2 -d " "/' /usr/local/sbin/pbxstatus
Decipher your hostname (cat /etc/hostname) and then reboot a final time inserting your hostname when prompted.
SPECIAL NOTE: If you plan to use NeoRouter, activate tun/tap support under Settings tab in the Manage Client area of your Virtual Server. Next, edit /usr/local/ZebraNetworkSystems/NeoRouter/Feature.ini and add:
[Default]
NicInterfaceName="venet0:"
WARNING: We use the immutability bit to protect a few critical files in /root. This may cause problems with OpenVZ VPS implementations. To disable the immutability bit settings, issue the following command while logged in as root:
chattr -i /root/*
Once the install completes, open a web browser to the IP address of your server. Ignore the https credentials warning to access your server. The default username for access is root, and the password is the one set during installation.
You now can proceed to Incredible PBX Initial Configuration tutorial to continue your setup.

 JUST RELEASED: Visit the Incredible PBX Wiki
