PBX in a Flash 2: One Incredible VoIP Platform
We’re pleased to introduce some incredibly cheap VoIP hardware today plus a couple of new PIAF2 software surprises…

We’re pleased to introduce some incredibly cheap VoIP hardware today plus a couple of new PIAF2 software surprises…
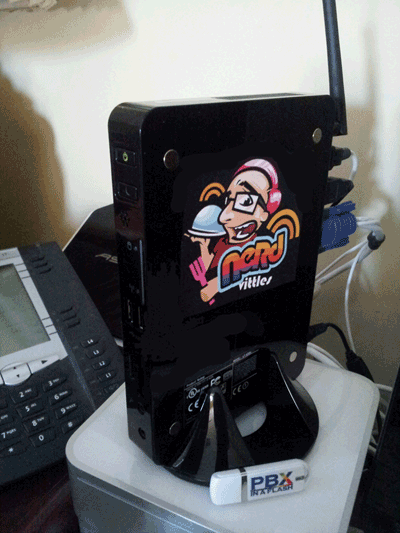
Finally… a new thumb drive installer for PBX in a Flash 2 with CentOS 6.2 and your choice of Asterisk and FreePBX versions. Enjoy!
Today we introduce the ultimate (and free) USB flash driver installer for Asterisk. Includes the turnkey Google Voice GUI for Asterisk 1.8 and 10 with free calling in the U.S. and Canada.
Today we are pleased to introduce a new USB flash installer for PBX in a Flash. Follow this 5-minute tutorial to build a bootable flash installer to load your favorite version of PBX in a Flash and Asterisk onto almost any personal computer including the latest Atom-based systems.
We’re pleased to introduce a new PBX in a Flash installer for USB Flash Drives. Creating your new installer takes less than 5 minutes once you download the new ISO. Merry Christmas!
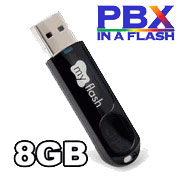
Introducing a bootable flash drive that builds turnkey Asterisk systems in under 15 minutes. And we’re giving the first 100 away for free to every generous contributor to the PBX in a Flash project…
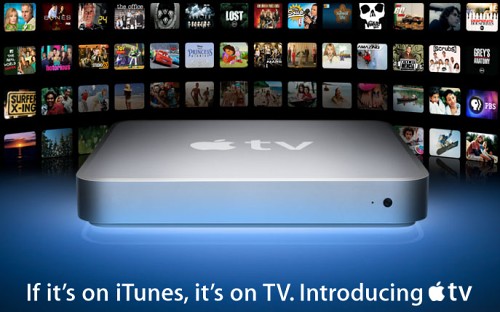
Today we’ll walk you through the process of transforming any Apple TV into a feature-rich, open source media center platform with complete web, SSH, and SAMBA networking support. It’s simple enough that both you or your favorite Fifth Grader can do it in under 15 minutes! Can Asterisk be far behind?

Today we’ll walk you through setting up your own personal Cloud Computing environment and transforming your Asterisk server into a full-fledged WebDAV host. The entire setup on a PBX in a Flash server takes less than 5 minutes…


 JUST RELEASED: Visit the Incredible PBX Wiki