

Getting Started
Begin by creating a Digital Ocean account using our referral link. This gets you a $10 credit to experiment on the Digital Ocean platform and provides a little lunch money for Nerd Vittles.
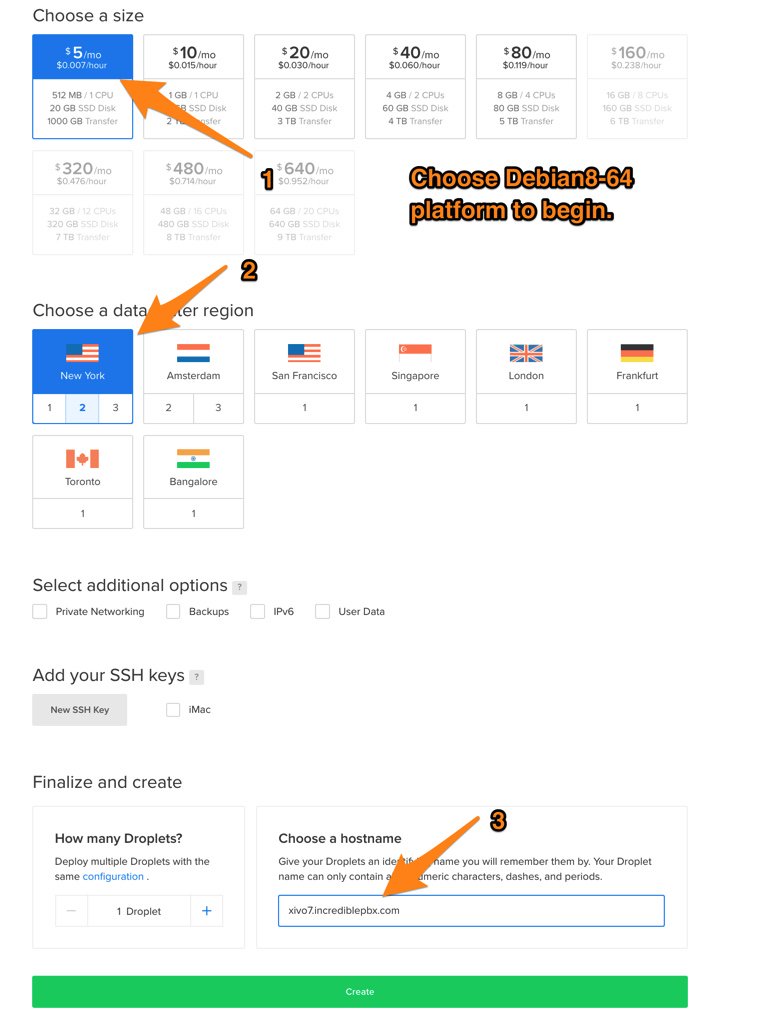
An ISO can’t be used as the installation media at Digital Ocean. Start by building a 64-bit Debian 9 virtual machine with at least 512MB RAM and a 20GB virtual drive.
IMPORTANT: Be sure to use a fully-qualified domain name for the HOSTNAME (item #3 below) when you build your Droplet, or the install will fail. If you don’t have one, use this: xivo.incrediblepbx.com.
Once you’ve built and started the virtual machine, log into your server as root using SSH/Putty and immediately change your root password: passwd
Creating a SwapFile for Digital Ocean Droplets
While logged into your Digital Ocean droplet as root, issue the following commands to create a swap file for your new virtual machine. This gives Wazo enough elbow room to function properly on the smallest Digital Ocean droplet which only costs $5 a month.
dd if=/dev/zero of=/swapfile bs=1024 count=1024k
chown root:root /swapfile
chmod 0600 /swapfile
mkswap /swapfile
swapon /swapfile
echo "/swapfile          swap            swap    defaults        0 0" >> /etc/fstab
sysctl vm.swappiness=10
echo vm.swappiness=10 >> /etc/sysctl.conf
free -h
cat /proc/sys/vm/swappiness
Debian/Wazo/Incredible PBX Installation
Log into your server as root using SSH/Putty and immediately change your root password: passwd
Then issue the following commands to kick off the base install.
NOTE: You should no longer need the commented out line below unless you get a "locale missing" error message when you log into your server. Special thanks to Digital Ocean for addressing this bug within hours after we reported it.
cd /root
# echo 'LC_ALL="en_US.UTF-8"' > /etc/environment
wget http://incrediblepbx.com/IncrediblePBX15-Wazo.sh
chmod +x IncrediblePBX15-Wazo.sh
./IncrediblePBX15-Wazo.sh
After rebooting, log into your server again as root and issue the following command to complete the Wazo and Incredible PBX installation and configuration:
./IncrediblePBX15-Wazo.sh
You now can proceed to Incredible PBX Initial Configuration tutorial to continue your setup.
