Motorola Xoom: A Disappointing Introduction to Android 3.0
You can read the puff pieces on the Motorola Xoom and Android 3.0 from the Silicon Valley Groupies or read our hands-on review for the real skinny before you buy…


You can read the puff pieces on the Motorola Xoom and Android 3.0 from the Silicon Valley Groupies or read our hands-on review for the real skinny before you buy…

It’s VoIP Virtualization Day at Nerd Vittles and today we introduce two new versions of Incredible PBX which have been customized for the OpenVZ and Cloud Computing platforms.
Today we bring you up close and personal with the AT&T crippleware edition of the Samsung Galaxy Tab. Find out why AT&T, Google, and Samsung take top honors for delivering 2010’s Most Crippled Device of the Year.

Today we introduce the VoIP WhiteList for IPtables, a simple automated solution for FreePBX-based Asterisk systems that blocks SIP and IAX access to your server from every IP address not included in your white list. Installation time: under 5 minutes.
Today’s HOW TO walks you through interconnecting any FreePBX-based Asterisk server with Incredible PBX to take advantage of free Google Voice calling in the U.S. and Canada. It’s a 5-minute project once you’ve read today’s article. Both SIP and IAX interconnectivity solutions are provided.
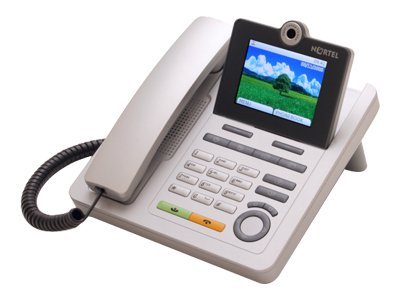
If you hurry, you can buy one of the world’s best color SIP videophones for about $42. The original price of these Nortel phones was over $700. And they work perfectly with Asterisk and sip2sip.info.

Introducing TeleYapper 5.0: the ultimate RoboCaller and data collection system for Asterisk. Upload your data in CSV or XML files and generate personalized calls to a dozen or thousands of callees. Messages also can be tailored to differentiate between people and answering machines. Customizable data collection is built into every call, and CSV/XML reports provide the results of every calling campaign.

Here’s an offer you can’t refuse. Make a donation to Nerd Vittles this month and we’ll purchase on your behalf and provide you with a complimentary copy of one of the world’s very best integrated scheduling and appointment systems at no additional cost to you. It’s perfect for any business or profession that schedules appointments by individual, by venue, or by reservation of some facility. This commercial software normally retails for $299.


 JUST RELEASED: Visit the Incredible PBX Wiki