
VoIP Over VPN: Securely Interconnecting Asterisk Servers
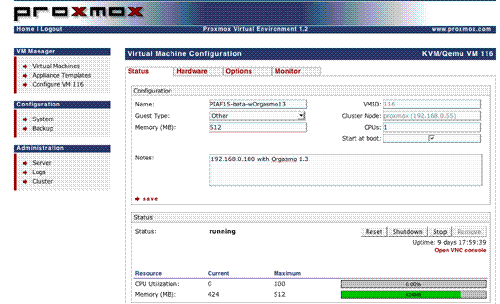
Today’s tutorial walks you through interconnecting Asterisk servers for secure communications using Hamachi virtual private networks and the Proxmox Virtual Environment. The setup process takes less than 15 minutes per server.


 JUST RELEASED: Visit the Incredible PBX Wiki
