Android 3 Deal of the Year: Acer Tab for Under $300
You’re not going to find a better deal on an Android 3 tablet probably ever. So run, don’t walk, to your nearest Target store to buy the best dual-core Android tablet on the market. Here’s why…


You’re not going to find a better deal on an Android 3 tablet probably ever. So run, don’t walk, to your nearest Target store to buy the best dual-core Android tablet on the market. Here’s why…

Nerd Vittles takes the wraps off new versions of PBX in a Flash and Incredible PBX today plus lots of other surprises…
Here’s a really quick checklist of things you need to know before you upgrade your Mac to OS X Lion…

Today we’ll show you how to integrate Google Calendars into your Incredible PBX or other Asterisk 1.8 PBX in less than 5 minutes. Schedule reminders, create conference calls, log all of your inbound and outbound calls to your calendar, and more…
Today we’ll give you our take on the iPad 2 with some great tips and tricks to get you started. In addition, we’ll run down our favorite applications for the iPad and what to look forward to.
Today we’ll show you how to build your own Homemade Cloud Computing Center for $100 per terabyte with NO RECURRING COSTS.
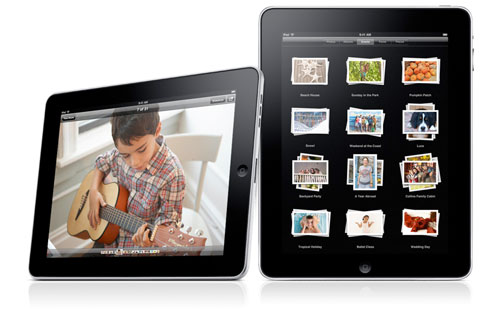
The title says it all. We finally have something nice to say about the iPad. And it’s important!
Today we’ll walk you through the process of transforming any Apple TV into a feature-rich, open source media center platform with complete web, SSH, and SAMBA networking support. It’s simple enough that both you or your favorite Fifth Grader can do it in under 15 minutes! Can Asterisk be far behind?


 JUST RELEASED: Visit the Incredible PBX Wiki