Google Voice makes an offer you can’t refuse if you’re living in the United States. They’ll give you a free phone number plus free calling in the U.S. and Canada. While the offer was intended to support their web-based dialers, it also happens to work with Asterisk. On the XiVO platform, you originally could not connect a Google Voice trunk directly since Google Voice didn’t speak SIP. However, you can sign up for a SIP account at Simonics.com and use their SIP Gateway to Google Voice to interconnect Google Voice and your server so you can start making free calls. The Simon Telephonics site charges a one-time fee of $5.99 for a lifetime account with a 30-day money-back guarantee. A Google Voice add-on now is incorporated into Incredible PBX for Wazo.
Setting Up a Google Voice Account with Google
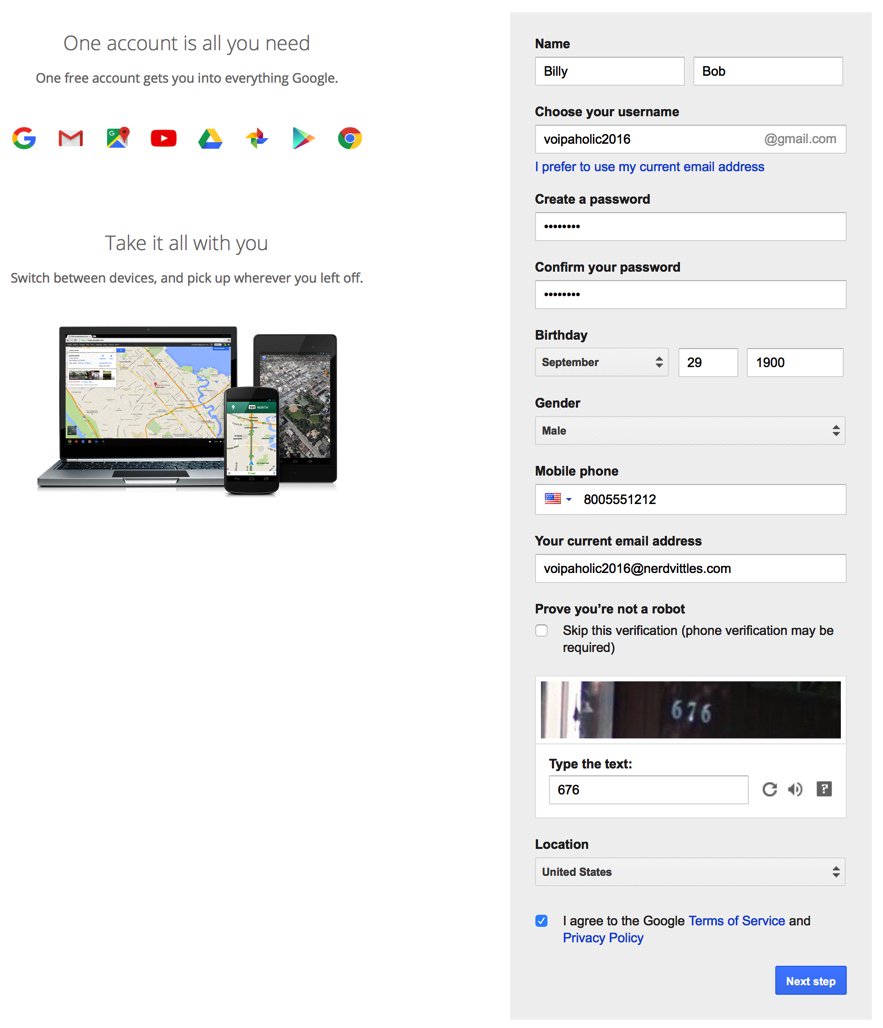
1. Set up a dedicated Gmail and Google Voice account to use exclusively for this new SIP gateway. Head over to the Google Voice site and register. You’ll need to provide a U.S. phone number to verify your account by either text message or phone call.

2. Once you have verified your account by entering your verification code, you’ll get a welcome message from Mr. Google. Click Continue to Google Voice.

3. Provide an existing U.S. phone number for verification. It can be the same one you used to set up your Google account in step #1.

4. Once your phone number has been verified, choose a DID in the area code of your choice.

5. When your DID has been assigned, click the Settings icon on your Google Voice desktop. Make certain that Forward Calls to Google chat is checked. Click on the Calls tab and select Call Screening:OFF, CallerID (Incoming):Display Caller’s Number, and Global Spam Filtering:checked. The remaining entries should be blank.
6. Google Voice configuration is now complete. Sign out of your Google Voice account.
Setting Up an Account on the Simonics SIP Gateway to Google Voice
1. Visit the Simonics gateway site and register your Google account.
2. After paying the $5.99 registration fee via PayPal, proceed through the setup process to link your Google Voice account and 11-digit Google Voice phone number to the Simonics SIP Gateway.
3. You then will be provided your SIP username and password as well as the gateway address, gvgw.simonics.com, to use in building your SIP trunk on your Wazo PBX.

4. If your SIP credentials ever get compromised, regenerate your password by logging back into the Simonics GW site.
Setting Up a Simonics SIP Gateway Trunk on Wazo
In the Wazo GUI, create a new Simonics Gateway SIP Trunk by choosing IPBX:Trunk Management:SIP Protocol. Click on + Add to open a new template.
In the General tab, fill in the blanks using your Simonics credentials including the Simonics gateway address to which you wish to register your SIP trunk: gvgw.simonics.com.

In the Register tab, reenter your credentials. Leave the empty fields exactly as shown. Be sure the Register box is checked.

In the Signaling tab, change the Monitoring option to Yes and then click Save. Monitoring is the Wazo equivalent of the SIP Qualify option.

Double-check IPBX:General Settings:SIP Protocol Defaults to verify that Match Users with Username field is checked.

Because Google Voice uses 11-digit numbers instead of 10, an adjustment in IPBX Configuration:Contexts is also necessary. Edit the from-extern (Incalls) context. Click the Incoming Calls tab and then the + icon. Add an additional range of DID numbers for incoming calls as shown below. Click Save once you’ve entered the new range of DID numbers.

Wazo will not actually process incoming and outgoing calls through the Simonics SIP Gateway trunk until you configure an outgoing route in IPBX:Call Management:Outgoing Calls and an incoming route using IPBX:Call Management:Outgoing Calls. Outgoing and Incoming call routing are covered in separate tutorials.
