

Getting Started
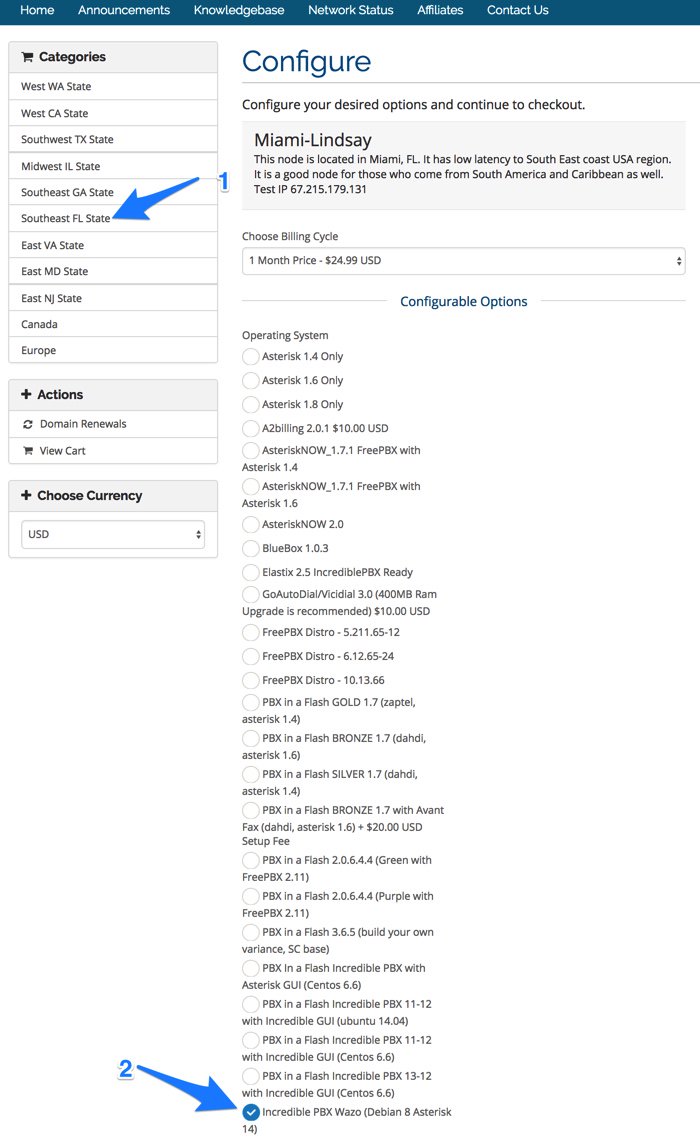
We want to quickly walk you through the installation procedure at RentPBX because it’s the easiest cloud platform to get up and running, period. First, sign up for an account at RentPBX and order Incredible PBX for Wazo which you’ll find under the PBX in a Flash section of their site. Next, choose your favorite hosting location. We strongly recommend their Miami site if you’re east of the Rockies. For example, ping times to atlanta.voip.ms are under 14 milliseconds. The LA node works great for those on the Left Coast. Then choose Incredible PBX Wazo (Debian 9 Asterisk 14) for your platform. Enter a hostname for your server (HINT: test.rentpbx.com works fine if you don’t have your own) and click Continue. Enter NoGotchas for your Promo Code. Click Validate Code and then Checkout. Once you receive your credentials, login to your new server as root using SSH or Putty. The RentPBX setup procedure is a two-step install. First, you get Debian up to date. Then you reboot and the main Incredible PBX installer will be run.
Because of some new certificates, you will get an exim prompt during the initial phase of the install. Just type q to proceed. After initial reboot, log back in with your root credentials and complete the prompts to add your Wazo web password, a telephone reminders numeric password, and a PPTP username and password. Review your passwords carefully. Then press ENTER to proceed with the installation of Incredible PBX for Wazo. Set your time zone when prompted. After about 5-10 minutes, you will be prompted to verify that the Wazo base install completed successfully. It’s perfectly normal that some of the Wazo services are disabled at this juncture. If you see “Wazo fully booted” after the listing of services, you’re good to go. Just press ENTER to proceed. The installer then will run the Wazo Wizard. Within a minute or two, you will again be asked to verify that it completed successfully. If you see no error messages, press ENTER and go have a cup of coffee. The rest of the install will proceed without further prompting. In 10-20 minutes, your server will be ready to use.
Once the install process is complete, immediately change your root password: passwd
You now can proceed to Incredible PBX Initial Configuration tutorial to continue your setup.
