
The Ambidextrous Laptop: A Perfect Fit for Asterisk and VoIP
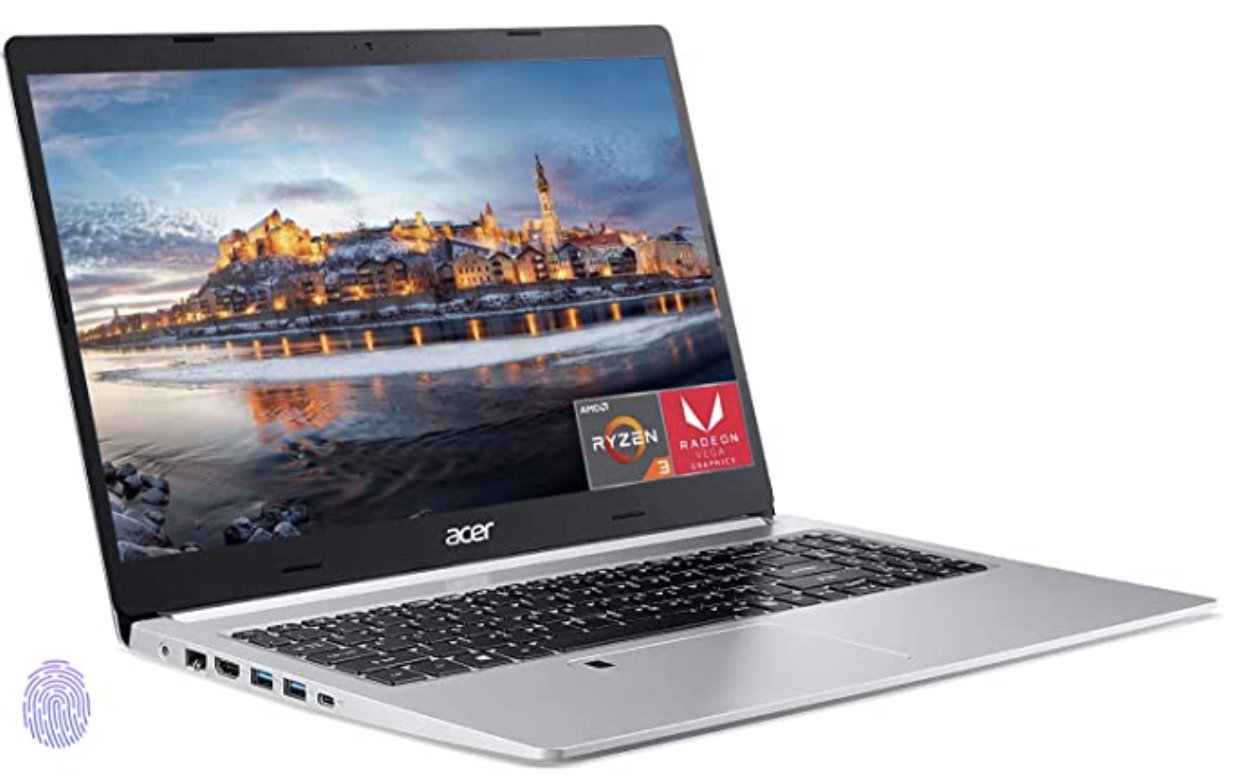
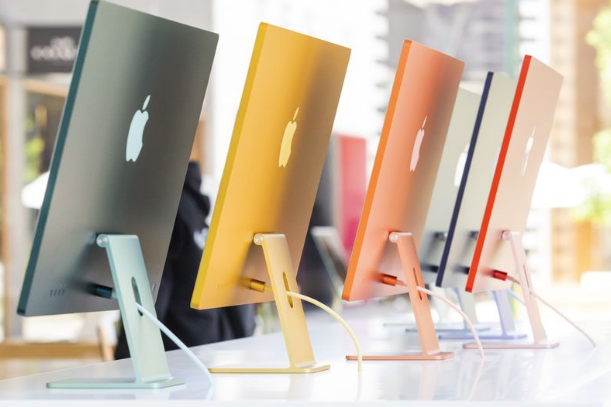
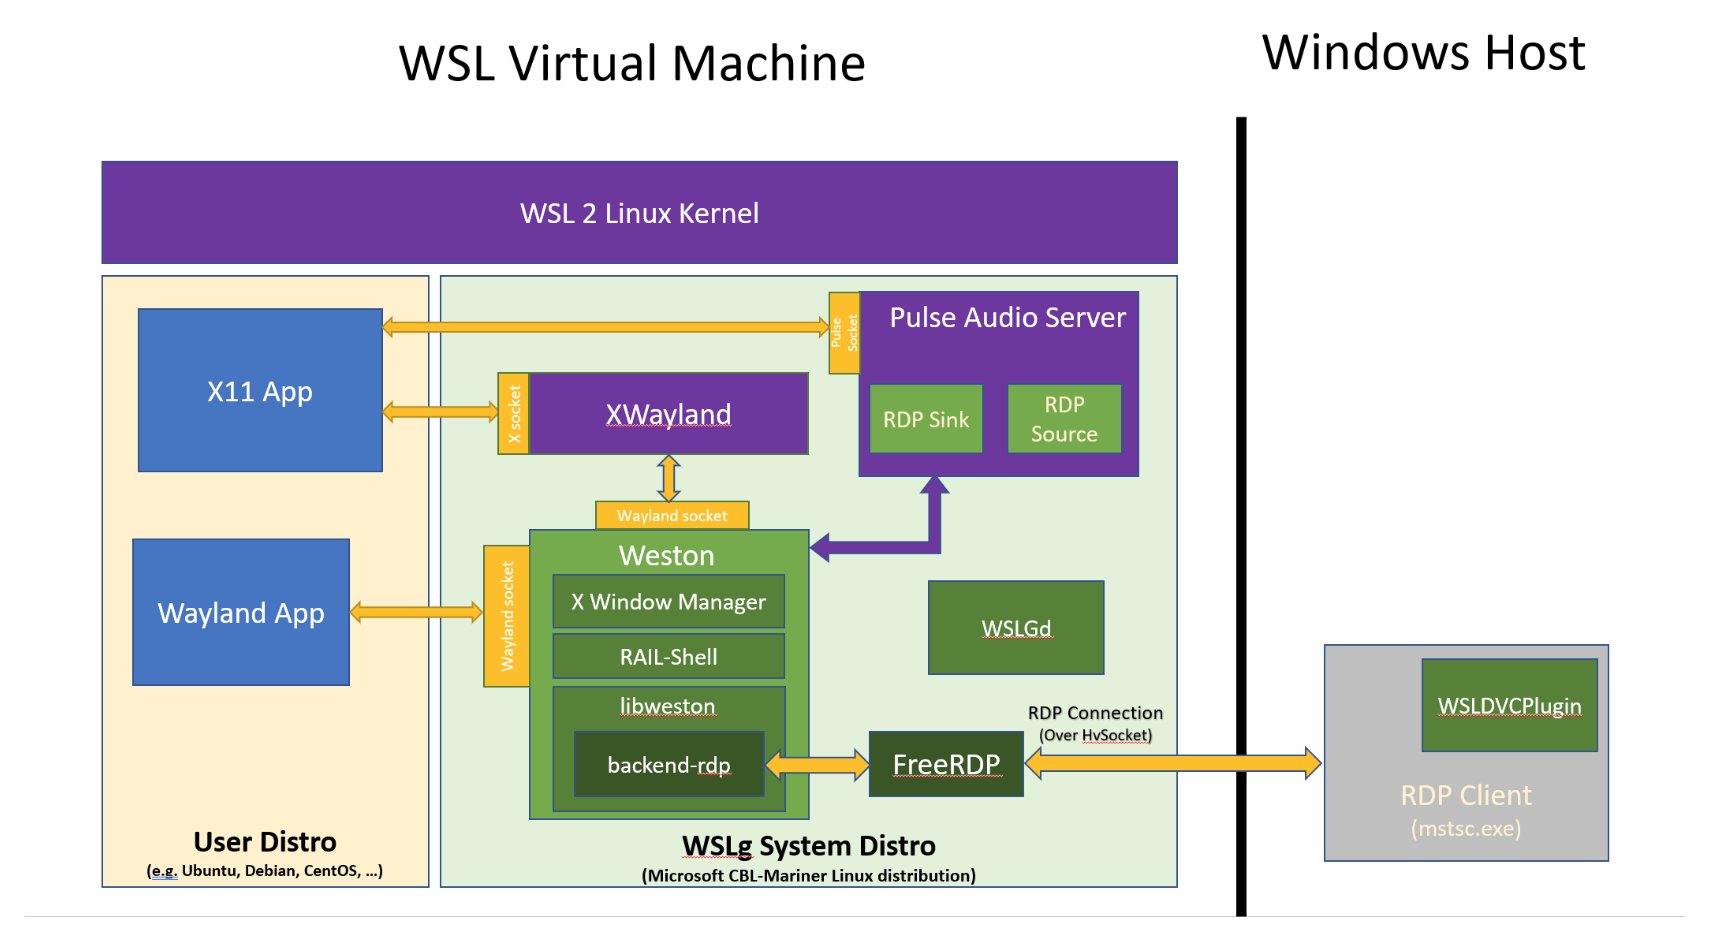
Until we bought a 15-inch Windows laptop with 20 gigs of RAM and a 1 terabyte NVMe SSD for under $500, we never would have considered such a computer an ideal virtual machine platform. And, to our surprise, with Windows 11 and a 4-core Ryzen 3 processor, it not only ran VirtualBox flawlessly, but Microsoft’s Windows Subsystem for Linux (WSLg) also performed admirably. And then we tried out the UTM virtual machine platform on one of Apple’s new MacBook… Read More ›


 JUST RELEASED: Visit the Incredible PBX Wiki
