Decisions, Decisions: Choosing the SOHO Asterisk Platform That’s Best For You
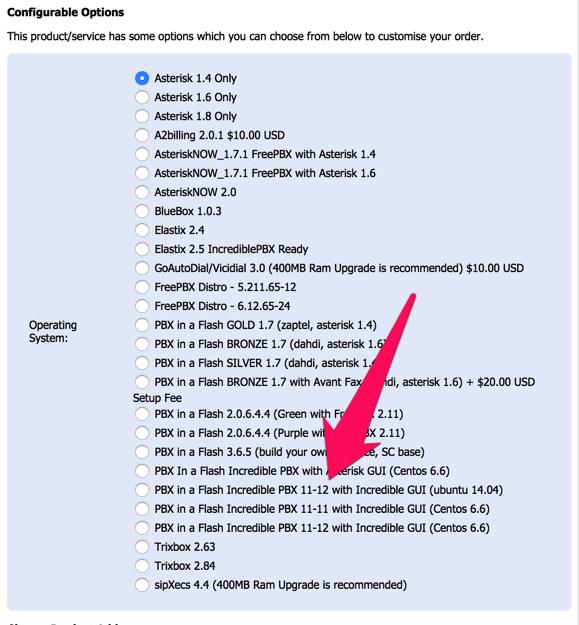
View image | gettyimages.com Each year we like to revisit the topic of choosing the best Asterisk® platform for deployment in the home and small business environment. No solution is obviously right for everybody. But we think it’s important to sketch out the relevant factors that need careful evaluation before you begin the installation process. Our focus today is open source, GPL platforms with Asterisk for home or SOHO deployments. That excludes a broad swath of equally capable commercial or… Read More ›