Rolling Your Own Asterisk ISOs with Joe’s WonderScript
Today we’ll show you how to roll your own Asterisk ISO with the latest, greatest version of CentOS in under an hour with Joe Roper’s new WonderScript.

Today we’ll show you how to roll your own Asterisk ISO with the latest, greatest version of CentOS in under an hour with Joe Roper’s new WonderScript.
Introducing the latest and greatest version of CallerID Superfecta with new international support. 27 CallerID lookup sources now included.

Today we provide some first impressions of Google Wave as well as our Wish List. Bottom line: how Google addresses the security issues surrounding Google Wave will ultimately determine whether Google Wave achieves true greatness.

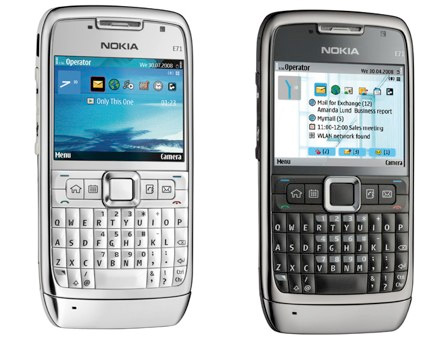
Today we provide a soup-to-nuts tutorial for getting every last piece of functionality out of the world’s best cellphone. It’s also the best Mac companion and the perfect Asterisk PBX extension.

Today we introduced the new 64-bit PBX in a Flash OpenVZ template for Proxmox with full support for conferencing and the newly enhanced "safe" version of IAX2 for Asterisk.
Today we introduce an all-new version of PBX in a Flash designed specifically for Cloud Computing. Meet the OpenVZ edition of PBX in a Flash, the perfect companion for Proxmox virtualization.
Today we present our 10-minute explanation of why we’ve shelved our iPhone and never looked back. In the process, you’ll discover the world’s best cordless SIP telephone…

Today we take Asterisk security to a new plateau with the introduction of IP Country. Now you can restrict access to your Asterisk server by countries based upon IP addresses. With minimal changes, this should work will all of the FreePBX-based Asterisk aggregations.


 JUST RELEASED: Visit the Incredible PBX Wiki