Deploying Voice Over Wi-Fi with Asterisk
Today we provide a step-by-step Voice Over WiFi setup using Asterisk@Home. And it’ll work with almost any PC with a single USB port and a compatible WiFi USB stick.

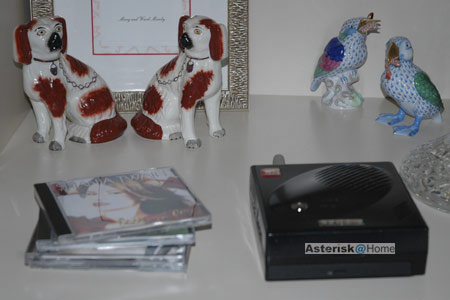
Today we provide a step-by-step Voice Over WiFi setup using Asterisk@Home. And it’ll work with almost any PC with a single USB port and a compatible WiFi USB stick.

It’s free software day at Nerd Vittles again, and today we’re pleased to introduce TeleYapper, Part II, an Asterisk-based telephone broadcasting service for neighborhoods, schools, little leagues, fundraisers, municipal governments, and anyone else that just wants to pester folks with annoying, but free, prerecorded phone calls. Today we hook up all the pieces and actually start placing calls using our MySQL database engine.

Finally, the perfect companion for that morning commute or your daily fix from Starbucks … the Nokia 770 tablet.everything …
[UPDATED version now on line!] It’s free software day at Nerd Vittles again, and today we’re pleased to introduce TeleYapper, an Asterisk-based telephone broadcasting service for neighborhoods, schools, little leagues, fundraisers, municipal governments, and anyone else that just wants to pester folks with annoying, but free, prerecorded phone calls.

Finally … a step-by-step tutorial that shows how to quickly deploy streaming audio as your default Music on Hold source for Asterisk. And a belated Christmas present for you: free 411 calls in the U.S.
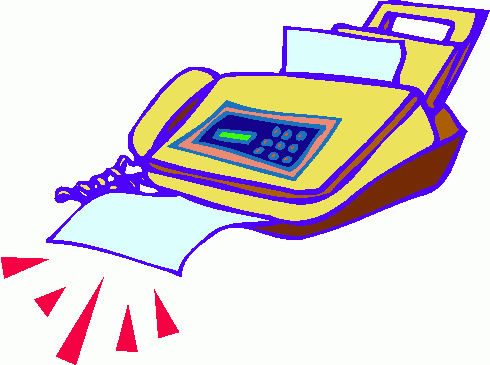
Today we provide a step-by-step Asterisk incoming fax solution which works reliably with PSTN, SIP, and IAX trunks. No dedicated fax line or additional hardware required!
Here’s the definitive step-by-step guide to quickly installing the latest and greatest version of Asterisk@Home: version 2.2 which includes the CentOS 4.2 version of Linux and Asterisk 1.2.1. In addition, you’ll get an Apache web server, SendMail and Comedian mail servers, MySQL, PHP, phpMyAdmin, SugarCRM, and much more. The whole project will take you about 90 minutes to complete, and it’s free of charge.

This is the first in a series of articles on backups and redundancy for Asterisk servers. In today’s installment, we provide the recipe for automating backups between Asterisk systems or any two systems running the Linux, BSD, or Mac OS X operating system.


 JUST RELEASED: Visit the Incredible PBX Wiki