Welcome to Frontier Days
Nerd Vittles takes the wraps off new versions of PBX in a Flash and Incredible PBX today plus lots of other surprises…


Nerd Vittles takes the wraps off new versions of PBX in a Flash and Incredible PBX today plus lots of other surprises…
Today we’ll give you our take on the iPad 2 with some great tips and tricks to get you started. In addition, we’ll run down our favorite applications for the iPad and what to look forward to.
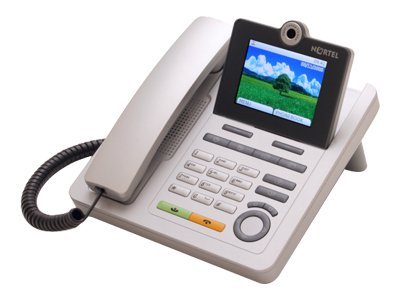
If you hurry, you can buy one of the world’s best color SIP videophones for about $42. The original price of these Nortel phones was over $700. And they work perfectly with Asterisk and sip2sip.info.

Today we review four of the world’s best VoIP softphones for use with the iPhone, iPad, and iPod Touch. Included in our roundup are Acrobits SIP Softphone, the WiFone from Snizmo.com, the Media5-fone, and Counterpath’s new Bria softphone.

Adding remote phones and connections to any Asterisk PBX can be a daunting task. Today we’ll cover the risks and lay out a range of safe and secure options for connecting Grandma as well as your traveling cellphones to Incredible PBX. In addition we provide our Baker’s Dozen checklist for keeping SIP access to your VoIP server secure.
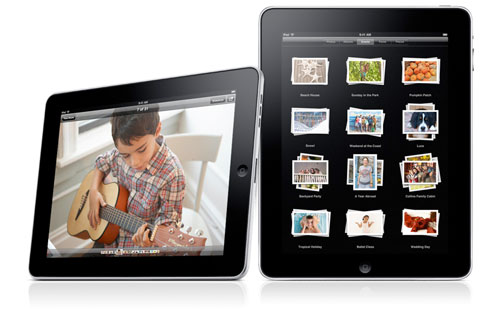
The title says it all. We finally have something nice to say about the iPad. And it’s important!
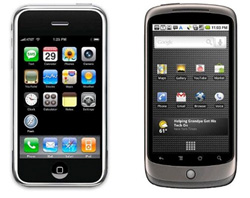
Today we provide our take on the choice between the iPhone and Google’s Nexus One. And the winner is…
Today we provide a soup-to-nuts tutorial for getting every last piece of functionality out of the world’s best cellphone. It’s also the best Mac companion and the perfect Asterisk PBX extension.


 JUST RELEASED: Visit the Incredible PBX Wiki