

The Two Amigos on Cloud 9: Introducing Incredible PBX for Elastix @ RentPBX
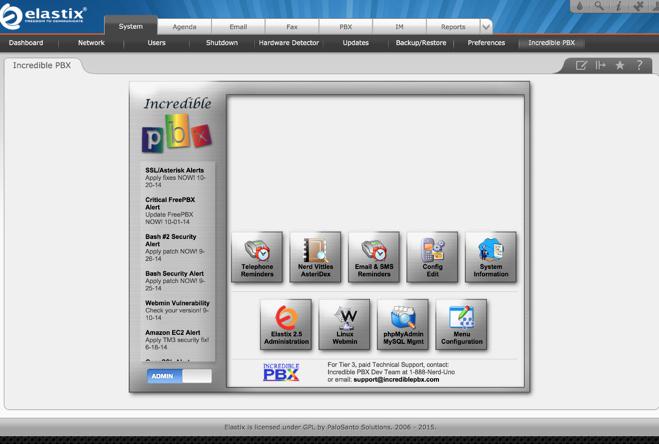
DEC. 7 NEWS FLASH: The Elastix project has been sold to 3CX. Elastix 4.0 and Elastix MT have been removed from production "due to a legal disagreement with another open source distribution." We continue the Gotcha-Free PBX adventure today with an open source alternative for which many have been clamoring, another affordable Cloud-based Asterisk® platform with the no-strings-attached Elastix 2.5 GUI. In addition to a $15 a month hosting plan, the icing on the cake is the quick 10-minute automated… Read More ›


 JUST RELEASED: Visit the Incredible PBX Wiki
