
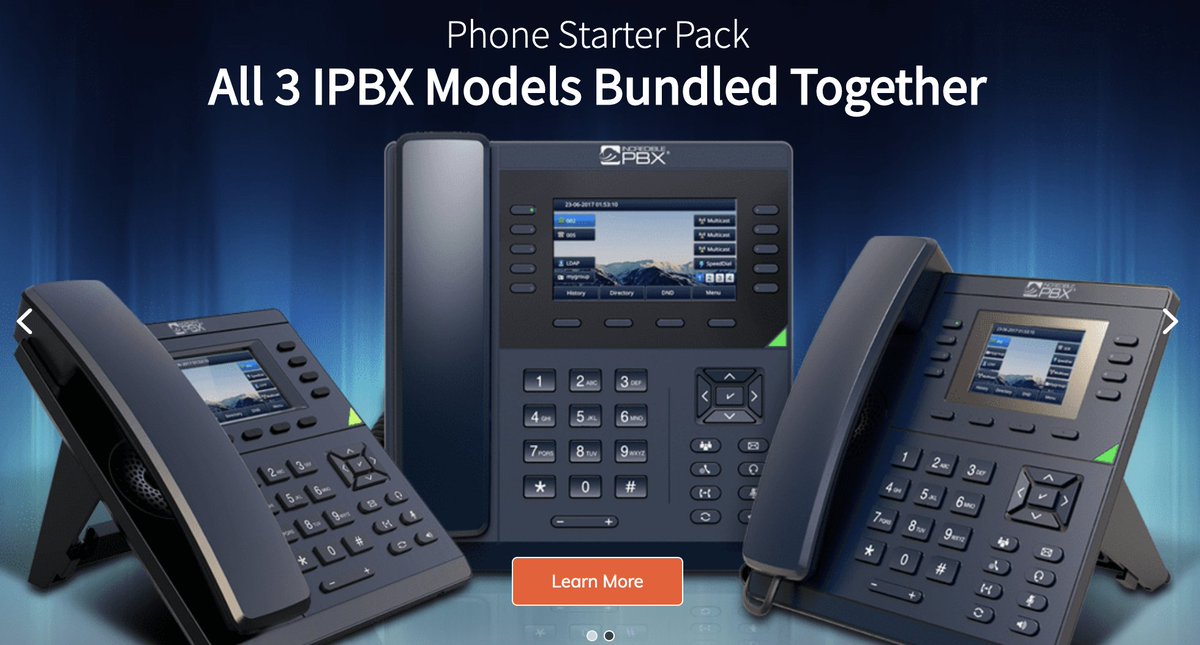
ClearlyIP Introduces New Features for Incredible PBX Phones
We’re excited to announce a host of new features for the new Incredible PBX IP phones. For locations where dynamic IP addresses and NAT-based routers pose challenges, the Clearly Devices GUI now offers direct support for OpenVPN. For environments in which security is critically important such as banks and schools, a new Panic button provides unique protection for employees and workplaces. And, for those that have always wanted an "Answered Elsewhere" indication for business communications, your search is over. Configuring… Read More ›


 JUST RELEASED: Visit the Incredible PBX Wiki
