
A Firsthand Look at Disaster Recovery: Tethering and IAX with Asterisk
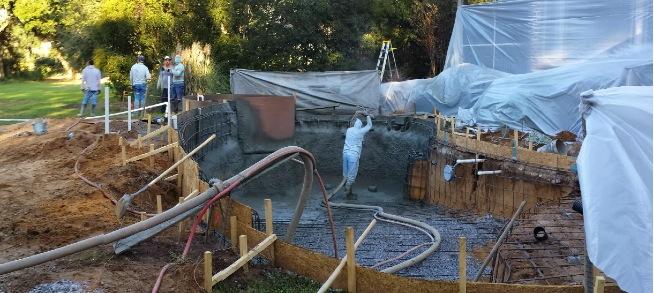
One of the exciting challenges of building a swimming pool is knowing that it’s just a matter of time until your Internet connection dies. As you might imagine, swimming pools are major construction and involve a lot of digging. And digging usually means some oops moments when cables get cut. In our case, we had watched the folks digging the trenches for all of the pool plumbing to be sure they didn’t accidentally whack one of three coax cables coming… Read More ›

