
") >
>If a $45 addition to your Incredible PBX® 2020 setup on the Raspberry Pi 4 isn’t too rich for your blood, then today’s your lucky day. When we’re finished, you’ll have a perfect SOHO communications platform that boots from a 256GB drive to provide long-term reliability without having to worry about replacing worn-out microSD cards. You’ll also have ample room to implement a Network Attached Storage (NAS) solution to store music or documents. With Wi-Fi in your home or office, you then can tuck the RasPi away in an out of sight drawer.
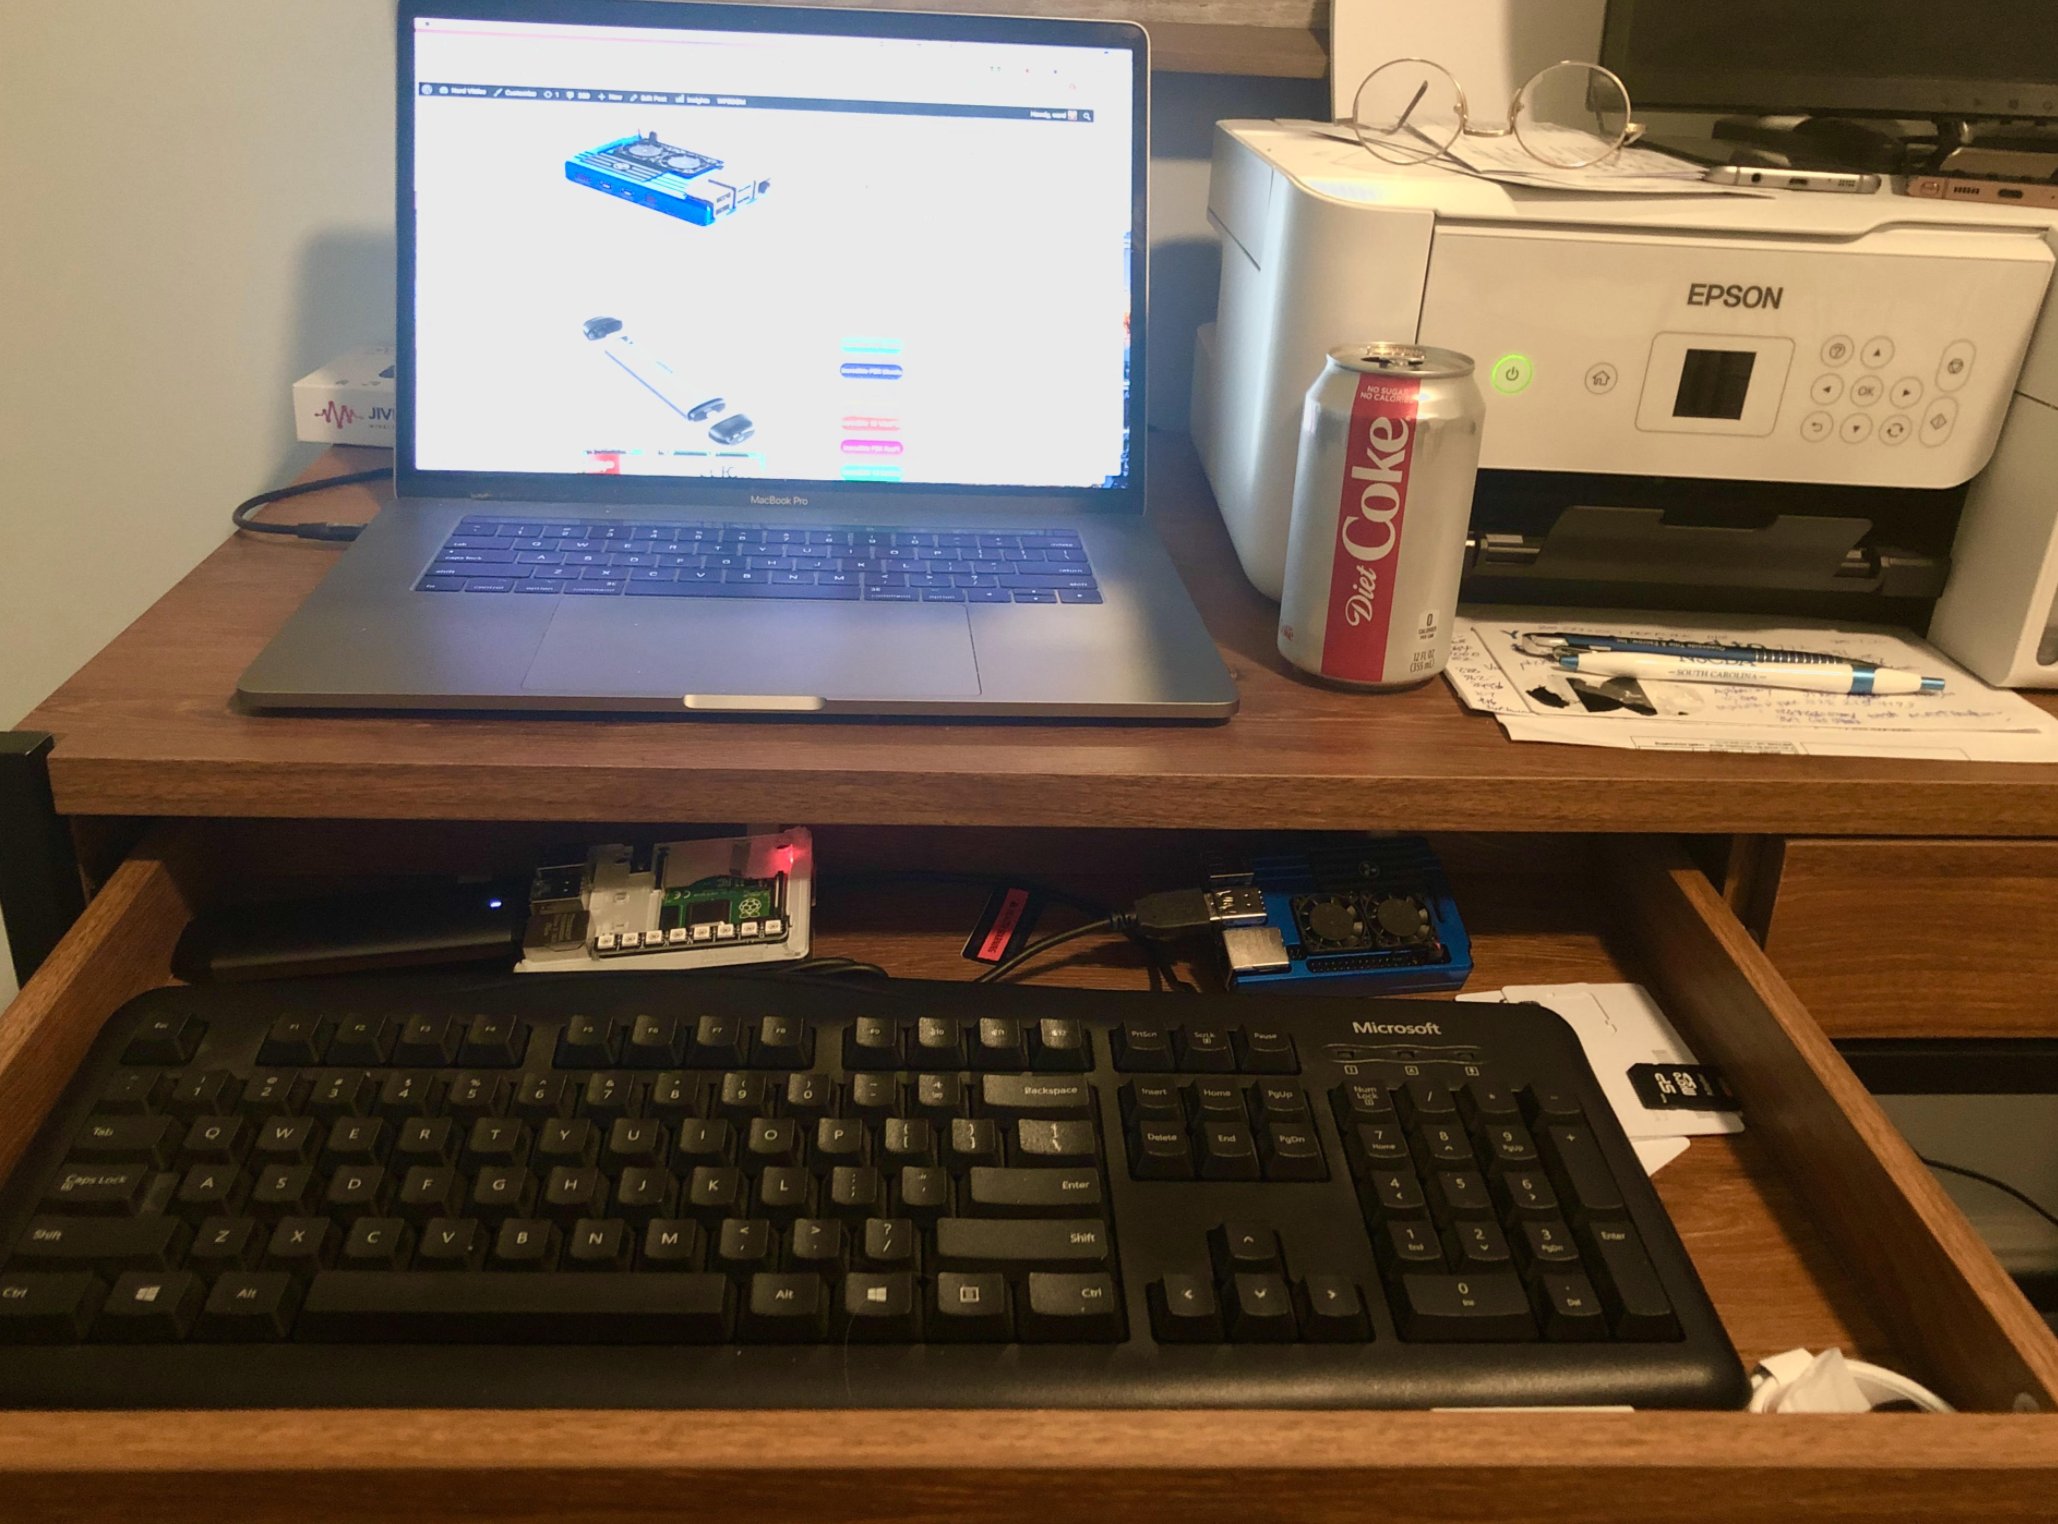
Shown below are the two components that make up the 256GB storage solution for the Raspberry Pi. These include the M.2 SSD SATA drive and the M.2 enclosure which provides a USB connector that’s compatible with your RasPi. Assembly of the components takes less than a minute as shown in the steps below:

You can order the M.2 SSD SATA drive and the UGREEN M.2 enclosure using our Amazon referral links which help support Nerd Vittles and the Incredible PBX open source project.
Once your order arrives and you have assembled the components as shown above, you’re ready to begin. The prerequisite for this project is an Incredible PBX® 2020 platform running on a Raspberry Pi 4. Begin by logging into Incredible PBX as root using SSH or Putty. Do NOT insert the SSD drive just yet. Issue the following commands:
apt update
apt full-upgrade -y
echo program_usb_boot_mode=1 | sudo tee -a /boot/config.txt
apt install rpi-eeprom -y
sed -i 's|critical|stable|' /etc/default/rpi-eeprom-update
rpi-eeprom-update -d -f \
/lib/firmware/raspberrypi/bootloader/stable/pieeprom-2020-09-03.bin
reboot
After Incredible PBX reboots, log back in as root using SSH or Putty. For best performance, insert the SSD drive into one of the blue USB 3.0 ports and verify that /dev/sda device is shown when you issue the command: fdisk -l
Now proceed with the following steps to copy the image from your microSD card to the new SSD SATA drive:
rpi-clone -l -e sda -f sda
# answer prompts with yes and incred2020
# once the image is copied, dismount the drive when prompted
mount /dev/sda2 /mnt/clone
cd /mnt/clone/boot
cp -p -r /boot/* .
sed -i 's|sda2|mmcblk0p2|' /boot/cmdline.txt
cd /
umount /mnt/clone
halt
Now you’re ready to restart your Raspberry Pi from the SSD SATA drive. Remove the microSD card and reboot your server. Our special thanks to @ext-104 for all of his work on this.
Adding Network Attached Storage to Raspberry Pi
While reliability and performance were the primary motivators in adding an SSD SATA drive to the Raspberry Pi platform, there’s also a silver lining. You now have loads of storage capacity that can be shared within your home or office for dozens of uses including a music collection to power your Sonos audio system or a data repository to share with other users on your private network. Here’s how to transform your Raspberry Pi into a network storage device which can be accessed from virtually any device including Windows machines, Macs, Linux servers, smartphones, and music players.
CAUTION: Heat is no friend of solid state electronics. If you choose to deploy NAS on your Raspberry Pi 4, do not proceed until you get a case for your device that includes one or more fans. Click on the one pictured at the top of this article for the hands-down winner.
We don’t typically add additional user accounts on your Raspberry Pi, but we don’t want users sharing your NAS drive to have access to your communications platform so an additional user account is an easy way to accomplish that. Begin by creating a new nas user account with no login access: useradd -r -s /usr/sbin/nologin nas
Next, we want to create a /nas directory to store your NAS data: mkdir /nas
Add the SAMBA components for net connectivity: apt install samba samba-common-bin
Choose YES when prompted for WINS connectivity. Set permissions: chmod -R 777 /nas
Add the following to the bottom of /etc/samba/smb.conf:
 [nas]
 path=/nas
 writeable=yes
 create mask=0777
 directory mask=0777
 public=yes
 read only=no
 guest ok=no
Restart SAMBA, activate SAMBA on boot, and create SAMBA credentials for nas user:
systemctl restart smbd
systemctl enable smbd
smbpasswd -a nas
Login to your NAS drive using your nas user credentials: smb://raspi-IP-address/nas
Your NAS drive now functions much like any other network drive on your LAN. Access to your NAS device from Windows or a Mac is simple using the native file managers. For smartphone access, you’ll need a file manager that supports SMB connections. We recommend Total Commander on the Android platform. On iPhones, follow this tutorial. For CentOS platforms, what you want is a process that mounts the NAS device as a directory on your server. You then can interact with the NAS device in the same way you interact with any other Linux directory.
apt install cifs-utils
mkdir /nas
chown nas:nas /nas
# you'll be prompted for your nas password after entering next command
mount -t cifs -o username=nas,sec=ntlmssp \
//RasPi-OpenVPN-IP-Address/nas /nas
ls /nas
# here's how to gracefully unmount your NAS drive
umount -t cifs /nas
UPDATE FOR SONOS COMPATIBILITY: If you plan to use your NAS drive to store music for playback with a Sonos device, add this in the [global] section of /etc/samba/smb.conf to support Sonos V1 SMB authentication: ntlm auth=yes. Your link to your NAS device should look like this assuming you have a music folder: \\ip-address\nas\music. Then enter your IP address and nas user credentials as above in Settings -> System -> Music Library. Don’t forget to update your Music Index once you have configured your NAS Music Library.
Originally published: Monday, November 2, 2020
Need help with Asterisk? Visit the VoIP-info Forum.
Special Thanks to Our Generous Sponsors
FULL DISCLOSURE: ClearlyIP, Skyetel, Vitelity, DigitalOcean, Vultr, VoIP.ms, 3CX, Sangoma, TelecomsXchange and VitalPBX have provided financial support to Nerd Vittles and our open source projects through advertising, referral revenue, and/or merchandise. As an Amazon Associate and Best Buy Affiliate, we also earn from qualifying purchases. We’ve chosen these providers not the other way around. Our decisions are based upon their corporate reputation and the quality of their offerings and pricing. Our recommendations regarding technology are reached without regard to financial compensation except in situations in which comparable products at comparable pricing are available from multiple sources. In this limited case, we support our sponsors because our sponsors support us.
BOGO Bonaza: Enjoy state-of-the-art VoIP service with a $10 credit and half-price SIP service on up to $500 of Skyetel trunking with free number porting when you fund your Skyetel account. No limits on number of simultaneous calls. Quadruple data center redundancy. $25 monthly minimum spend required. Tutorial and sign up details are here.
The lynchpin of Incredible PBX 2020 and beyond is ClearlyIP components which bring management of FreePBX modules and SIP phone integration to a level never before available with any other Asterisk distribution. And now you can configure and reconfigure your new Incredible PBX phones from the convenience of the Incredible PBX GUI.
VitalPBX is perhaps the fastest-growing PBX offering based upon Asterisk with an installed presence in more than 100 countries worldwide. VitalPBX has generously provided a customized White Label version of Incredible PBX tailored for use with all Incredible PBX and VitalPBX custom applications. Follow this link for a free test drive!
Special Thanks to Vitelity. Vitelity is now Voyant Communications and has halted new registrations for the time being. Our special thanks to Vitelity for their unwavering financial support over many years and to the many Nerd Vittles readers who continue to enjoy the benefits of their service offerings. We will keep everyone posted on further developments.
Is there any problem using the 512GB or 1TB M.2 SSD? I just had my main RPi-3 crash so I am rebuilding it but i want to use the SSD setup on my RPi-4 8GB unit so this does not happen again. Then for the time being this will be my main RPi.
[WM: Any size SSD should work just fine.]