If You Won’t Eat Your Own Dog Food, At Least Taste It
Today we offer some additional thoughts on what Digium could do to right the Asterisk ship…


Today we offer some additional thoughts on what Digium could do to right the Asterisk ship…

With the impending demise of Skype for Asterisk, we’re pleased to offer this tutorial to show you how to get Skype and Asterisk working together for inbound and outbound calling using Asterisk 1.8, CentOS 5.6, PBX in a Flash 1.7.5.6.2, and Incredible PBX…

Today we’ll show you how to integrate Google Calendars into your Incredible PBX or other Asterisk 1.8 PBX in less than 5 minutes. Schedule reminders, create conference calls, log all of your inbound and outbound calls to your calendar, and more…

Today we’re pleased to introduce an incredibly simple 5-minute installer for adding HylaFax, AvantFax, IAXmodem, and a Fax on Demand service to Asterisk 1.8, FreePBX 2.8, PBX in a Flash Purple, and Incredible PBX 1.8. The free, open source software supports VoIP faxing as well as print-to-fax and much, much more…

Newly revealed backdoor passwords into FreePBX make it imperative that every Asterisk administrator immediately check all of their existing systems.
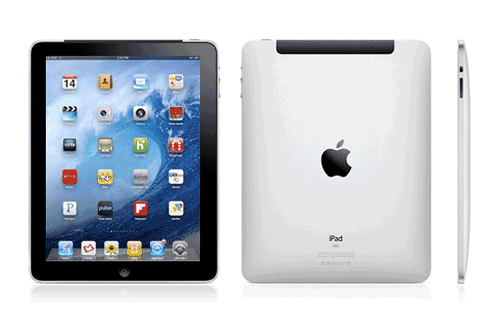
Today we’ll give you our take on the iPad 2 with some great tips and tricks to get you started. In addition, we’ll run down our favorite applications for the iPad and what to look forward to.

Today we’ll show you how to add free SIP calling to any Google Voice number on the planet using several different calling methodologies…

It’s VoIP Virtualization Day at Nerd Vittles and today we introduce two new versions of Incredible PBX which have been customized for the OpenVZ and Cloud Computing platforms.


 JUST RELEASED: Visit the Incredible PBX Wiki