

UPDATE: Read our latest Proxmox tutorial: It’s Incredible PBX for Proxmox 7.
More than a decade ago, we introduced the Proxmox virtual machine platform for Asterisk®. Five years later we took another look. Along the way, there have been a few hiccups. But, by and large, Proxmox has had a loyal following for many years. Today we’re pleased to provide an updated tutorial to deploy Proxmox 6.3 with Incredible PBX®. Yes, we know Proxmox 6.4 was released yesterday, but we haven’t had a chance to test it. And, we had a terrific hardware special that’s only available for a short while. We will update this tutorial once we’ve had a chance to run Proxmox 6.4 through its paces.
Why go the virtual machine route? First, you can build Incredible PBX VMs in about one minute. Second, you can make backups and snapshots of your system with the click of a few buttons in the Proxmox GUI. Third, the performance is almost identical to running Incredible PBX on standalone hardware. What’s not to like?
One of our pet peeves with Proxmox has always been the nag screens trying to get you to pay for support. Fortunately, John McLaren solved that with this tutorial. Aside from that, there’s not much not to like about Proxmox. So let’s get started.
This tutorial assumes you have a working Proxmox server. If you don’t and you’re a home or SOHO user, here’s a steal from Amazon that’s only available at the $475.15 price while the remaining inventory is available. It includes a quad-core Intel Core i5 processor with 16GB of RAM, a 512GB NVME SSD drive plus wired and wireless networking. We’ve tried it. It’s great. Installing the Proxmox server from a USB flash drive takes about 5 minutes. This Proxmox tutorial will walk you through building the Proxmox installer with a USB flash drive. Once you have it, plug in a network cable, plug in the flash drive, and turn on the machine while holding down the F7 key. When the drive list appears, choose the USB drive and the Proxmox installer will load. Set up your credentials and fully-qualified domain name and email address, and the rest is just watching the installer work its magic. If you’re tempted to go the Intel NUC route, be advised that Intel and Microsoft have made some BIOS changes which may or may not lead you into harm’s way. Our earlier tutorial has some tips if you run into a snag.
Configuring Proxmox for Incredible PBX VMs
There are three ways you can "talk" to your Proxmox server once it’s up and running: SSH, SFTP, and the Proxmox web GUI. We’ll be using all three. Make note of the IP address assigned to your server during the install procedure.
1. Log into your Proxmox server as root using SSH. Issue the commands in John McLaren’s tutorial to disable the nag screens and restart Proxmox.
2. Download the Debian 10.9 ISO and our Incredible PBX installer (vzdump*.vma.gz) for Proxmox from SourceForge to your desktop.
3. Log into SCP as root using your Proxmox credentials. Using SCP, copy the vzdump*.vma.gz installer to /var/lib/vz/dump on your Proxmox server
4. Using a web browser navigate to https://192.168.0.208:8006/ where 192.168.0.208 is the IP address assigned to your Proxmox server. Login as root using the same root credentials you used with SSH.
5. In the Proxmox GUI, navigate to Datacenter -> Local -> ISO Images -> Upload and upload the Debian 10 ISO from your desktop.
Your Proxmox server now is configured to let you build as many Incredible PBX 2021 virtual machines as you like.
Creating Your First Incredible PBX Virtual Machine
The easiest way to create Incredible PBX 2021 virtual machines is using the Proxmox web GUI. Navigate to Datacenter -> Local -> Backups -> Restore. When the dialog box appears, fill it in as shown below using a unique Proxmox Container Number for each VM (777 in the example). Be sure to tick the Unique box to assure that your VMs don’t step on each other. If you want to start up the VM after creating it, just tick the start up box. When you’re finished, click the Restore button.

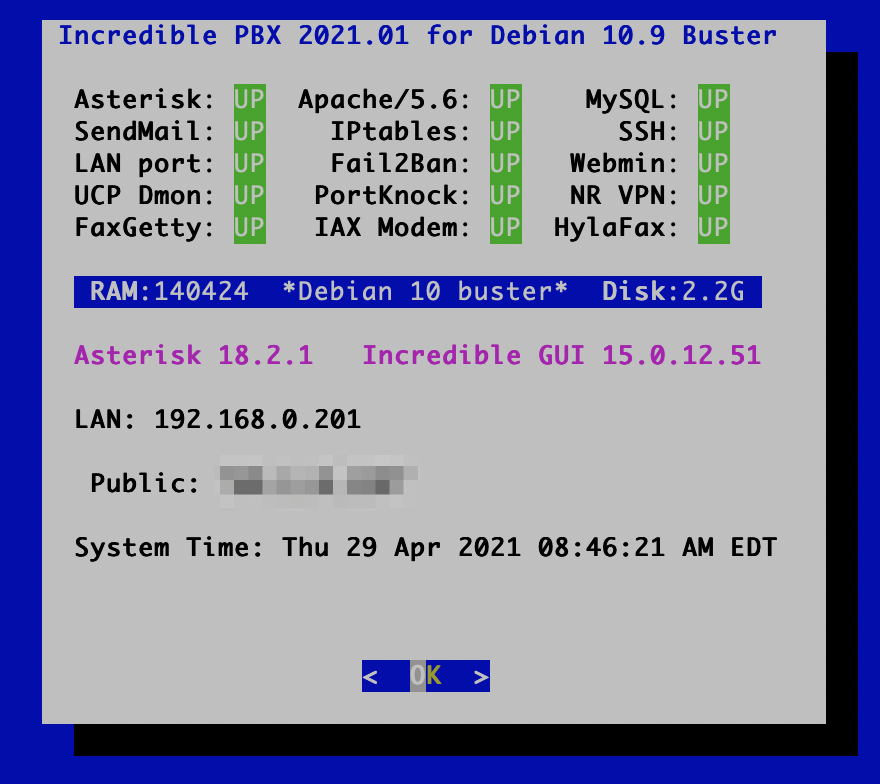
In about a minute, your VM will be ready to Start if you didn’t tick the start up box. Once started, click the Console button to open the Incredible PBX console box just as if you had logged in with SSH. For username and password, use root and password. You then will be prompted to change all of your VM’s passwords. New SSH credentials also will be generated. Following the reboot, log back in again with your new root password and let the installer complete its setup. You now have a fully-operational Incredible PBX and Incredible Fax platform. Hop over to the Incredible PBX 2021 tutorial to set up extensions, trunks, and routes.
Originally published: Saturday, May 1, 2021
Need help with Asterisk? Visit the VoIP-info Forum.
Special Thanks to Our Generous Sponsors
FULL DISCLOSURE: ClearlyIP, Skyetel, Vitelity, DigitalOcean, Vultr, VoIP.ms, 3CX, Sangoma, TelecomsXchange and VitalPBX have provided financial support to Nerd Vittles and our open source projects through advertising, referral revenue, and/or merchandise. As an Amazon Associate and Best Buy Affiliate, we also earn from qualifying purchases. We’ve chosen these providers not the other way around. Our decisions are based upon their corporate reputation and the quality of their offerings and pricing. Our recommendations regarding technology are reached without regard to financial compensation except in situations in which comparable products at comparable pricing are available from multiple sources. In this limited case, we support our sponsors because our sponsors support us.
BOGO Bonaza: Enjoy state-of-the-art VoIP service with a $10 credit and half-price SIP service on up to $500 of Skyetel trunking with free number porting when you fund your Skyetel account. No limits on number of simultaneous calls. Quadruple data center redundancy. $25 monthly minimum spend required. Tutorial and sign up details are here.
The lynchpin of Incredible PBX 2020 and beyond is ClearlyIP components which bring management of FreePBX modules and SIP phone integration to a level never before available with any other Asterisk distribution. And now you can configure and reconfigure your new Incredible PBX phones from the convenience of the Incredible PBX GUI.
VitalPBX is perhaps the fastest-growing PBX offering based upon Asterisk with an installed presence in more than 100 countries worldwide. VitalPBX has generously provided a customized White Label version of Incredible PBX tailored for use with all Incredible PBX and VitalPBX custom applications. Follow this link for a free test drive!
Special Thanks to Vitelity. Vitelity is now Voyant Communications and has halted new registrations for the time being. Our special thanks to Vitelity for their unwavering financial support over many years and to the many Nerd Vittles readers who continue to enjoy the benefits of their service offerings. We will keep everyone posted on further developments.