In case you missed it, Broadcom purchased VMware® from Dell in late 2023 for $61 billion. While pricing for commercial licenses went up, the good news for hobbyists is that Broadcom immediately rebranded VMware Workstation Pro and Fusion Pro for Macs as free offerings for personal use. While open source virtual machine platforms have dominated the marketplace over the past few years, if you fall into the personal use group, then this is a deal you can’t refuse. That’s not to say that VMware doesn’t have its fair share of quirks, but once you get past the installation process, VMware is a rock-solid virtualization platform.
While Proxmox remains our virtualization platform of choice for Linux, today we’ll walk you through getting VMware running on your Windows 11 or Mac desktop. One word of caution. There are three different installation procedures for Windows 11, x86 Macs, and ARM-based Macs. Be sure you use the correct procedure for your actual desktop computer.
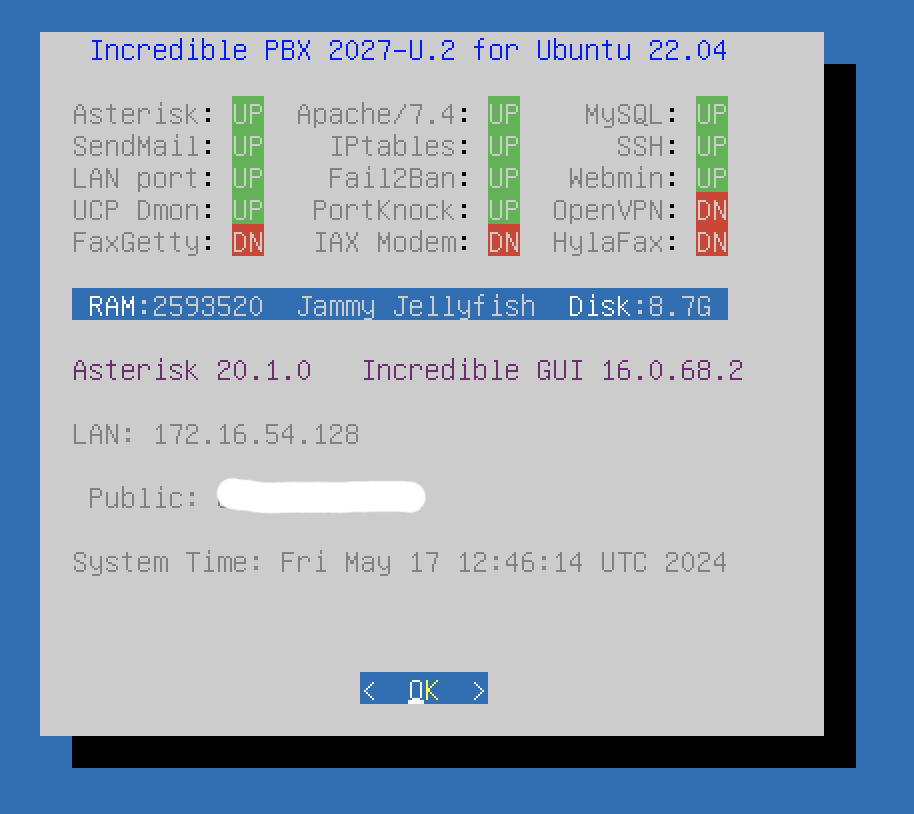
With all three platforms, you’ll first need to sign up for a Broadcom account here. Once you’re registered, log into your new Broadcom account by clicking on the Login button. Then follow the applicable tutorial below to install Incredible PBX 2027 with Ubuntu® 22.04, Asterisk® 20, and FreePBX® 16. When finished, hop over to our Incredible PBX 2027-U tutorial for setup tips.
Installing VMware Workstation Pro with Windows 11
For Windows 11, install VMware Workstation Pro 17 for Personal Use (Windows) from here after logging into your Broadcom account.
1. Download this Incredible PBX 2027-U-VMware.ova image into Downloads
2. From your Downloads folder, right-click on the IncrediblePBX2027-U-VMware.ova file, click Open With, choose VMware Workstation
3. Give the virtual machine a name: IncrediblePBX2027-U, Accept default Storage Path, click Import
4. Click on the new VM in left sidebar and Click Power On
5. Login as root:password and press Ctrl-C at first prompt
6. Edit /etc/netplan/00* and add the following below the dhcp4 line:
dhcp-identifier: mac. Then save the file.
7. Issue the following commands:
echo -n > /etc/machine-id
rm /var/lib/dbus/machine-id
ln -s /etc/machine-id /var/lib/dbus/machine-id
8. Reboot and proceed with the normal installation scenario after logging back in
Installing VMware Fusion Pro on x86 Mac Desktops
For x86-based Macs, begin by downloading Fusion 13 Pro for Personal Use. Start it up on your x86 Mac desktop and then…
1. Download the Incredible PBX 2027-U zip file from this link
2. Unzip the file and switch to the unzipped directory
3. Right click the disk-1.vmdk file and open it using the VMware Fusion Pro app
4. Create a new VM specifying Linux -> Ubuntu-64bit as the platform
5. Choose Legacy BIOS and for the disk to use, Use Existing Disk, Take Disk Away and specify the disk-1.vmdk file above
6. Click Continue, Finish, and Save. When the VM is loaded, do not start it yet. If it starts, type halt to stop it.
7. Click Window, Virtual Machine Library, right-click on your VM, and choose Settings
8. For Network Adapter, choose Bridged Network -> Autodetect
9. For Hard Disk, click Advanced Options and then…
10. Check Pre-allocate Disk Space (this will keep the drive from loading as read only). Click Apply
11. After reconfig completes, start up the VM and press Ctrl-C at the first prompt after logging in as root:password
12. Enter the command: ip a
13. Write down the name associated with the network adapter, e.g. ens33
14. Edit /etc/netplan/00*
15. Replace the existing network adapter name (e.g. ens160) with your actual adapter name (e.g. ens33)
16. Add the following below the dhcp4 line: dhcp-identifier: mac. Then save the file.
17. Issue the following commands:
echo -n > /etc/machine-id
rm /var/lib/dbus/machine-id
ln -s /etc/machine-id /var/lib/dbus/machine-id
18. Issue command: sed -i "s|ens160|ens33|" /etc/default/knockd
19. Reboot and proceed with the normal installation scenario

Installing VMware Fusion Pro on ARM-Based Mac
For newer ARM-based Macs, begin by downloading Fusion 13 Pro for Personal Use. Start it up on your ARM-based Mac desktop and then…
1. In your Downloads folder, download iPBX2027U-ARM.tar.gz
2. Untar the file: tar zxvf iPBX2027U-ARM.tar.gz
3. Rename the untarred file to something unique. Be sure to preserve the .vmwarevm extension. Repeat steps #2 and #3 for each additional virtual machine you wish to create using unique file names each time.
4. Double-click on the .vmwarevm file that you untarred and renamed to start up the virtual machine in VMware Fusion..
5. Proceed with the standard Incredible PBX install procedure by following the prompts.
Originally published: Wednesday, May 22, 2024

Need help with Asterisk? Visit the VoIP-info Forum.
Special Thanks to Our Generous Sponsors
FULL DISCLOSURE: ClearlyIP, Skyetel, Vitelity, DigitalOcean, Vultr, VoIP.ms, 3CX, Sangoma, TelecomsXchange and VitalPBX have provided financial support to Nerd Vittles and our open source projects through advertising, referral revenue, and/or merchandise. As an Amazon Associate and Best Buy Affiliate, we also earn from qualifying purchases. We’ve chosen these providers not the other way around. Our decisions are based upon their corporate reputation and the quality of their offerings and pricing. Our recommendations regarding technology are reached without regard to financial compensation except in situations in which comparable products at comparable pricing are available from multiple sources. In this limited case, we support our sponsors because our sponsors support us.
 BOGO Bonaza: Enjoy state-of-the-art VoIP service with a $10 credit and half-price SIP service on up to $500 of Skyetel trunking with free number porting when you fund your Skyetel account. No limits on number of simultaneous calls. Quadruple data center redundancy. $25 monthly minimum spend required. Tutorial and sign up details are here.
 The lynchpin of Incredible PBX 2020 and beyond is ClearlyIP components which bring management of FreePBX modules and SIP phone integration to a level never before available with any other Asterisk distribution. And now you can configure and reconfigure your new Incredible PBX phones from the convenience of the Incredible PBX GUI.
 VitalPBX is perhaps the fastest-growing PBX offering based upon Asterisk with an installed presence in more than 100 countries worldwide. VitalPBX has generously provided a customized White Label version of Incredible PBX tailored for use with all Incredible PBX and VitalPBX custom applications. Follow this link for a free test drive!
 Special Thanks to Vitelity. Vitelity is now Voyant Communications and has halted new registrations for the time being. Our special thanks to Vitelity for their unwavering financial support over many years and to the many Nerd Vittles readers who continue to enjoy the benefits of their service offerings. We will keep everyone posted on further developments.


What is the purpose of nulling out machine-id?
WM: It permits a new IP address for the VM to be generated.