
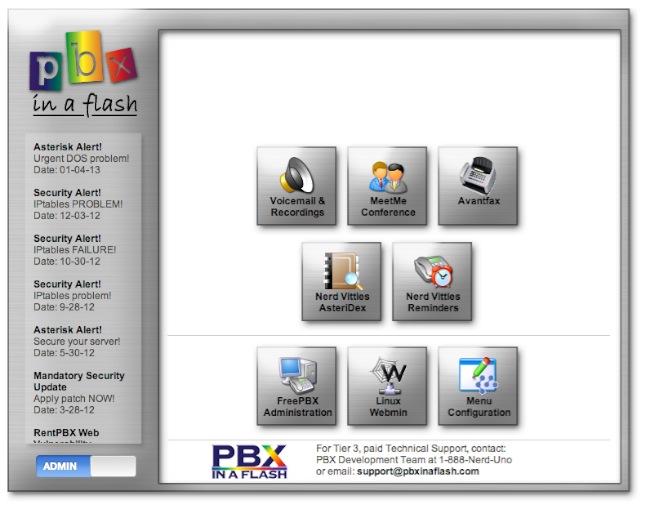
Another Feather in the VoIP Cap: Fedora 20 Comes to PBX in a Flash
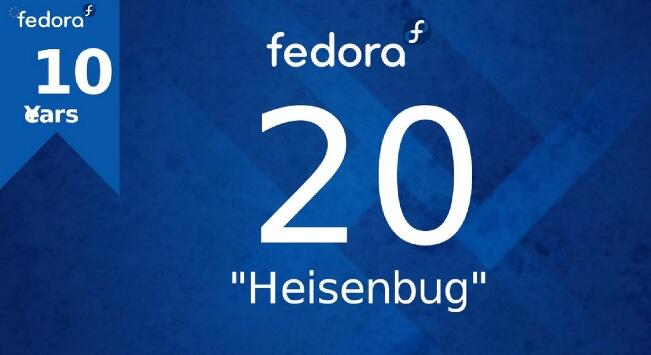
Summer has always been the season for experimentation at Nerd Vittles, and 2014 is shaping up to be a banner year. Red Hat® has been a pioneer in all things Linux® so we were anxious to take their latest technologies for a spin. Nothing sums up Fedora™ 20 better than Cubieboard’s graphic (shown above). For those new to open source, Fedora is where the Bleeding Edge action is. If you like roller coasters and fast cars, then you’ll feel right… Read More ›


 JUST RELEASED: Visit the Incredible PBX Wiki
