
Introducing Incredible PBX LITE featuring Raspbian 10
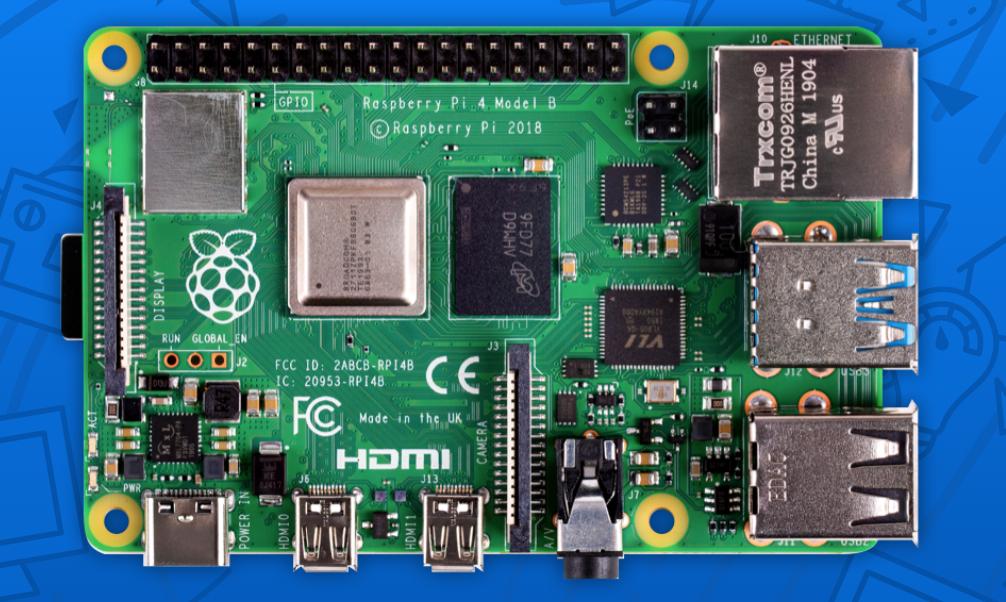
As you may know, the Raspberry Pi Foundation introduced the $35 Raspberry Pi 4 last week. In addition to jaw-dropping hardware enhancements, the introduction also included the new Raspbian 10 (Buster) platform which was surprising since Debian 10 isn’t scheduled for official release until the end of this week. As with prior releases, Raspbian 10 brought with it some major headaches for the VoIP community not the least of which is FreePBX® cannot (yet) be installed. But sometimes there’s a… Read More ›


 JUST RELEASED: Visit the Incredible PBX Wiki
